Don’t you agree drawings featuring great line-work can be mesmerizing? Not all art media or styles require you to be able to draw such strong or steady lines as say inking for comics or animation does. However, there are plenty of art and illustration styles that demand line-work that requires both tremendous hand-eye co-ordination and understanding of what lines can mean visually. Not all artists will use these skills in the same way, after all, there are great graphic artists and illustrators who have a scratchy or wild line quality.
Having some control over and sensitivity in your line-work can be a great asset to an artist and it’s an important area of graphic artmaking to explore. So, let us look at how to develop your line-work options and how to use them in your drawings.
Where is Great Line-work Found?
In many illustration styles, clean and controlled lines define characters and scenes. Comics and graphic novels rely heavily on strong line-work to convey action and emotion, guiding the reader's eye through the story.
In traditional pen and ink drawing, as well as analogue print media like etchings and drypoints, lines are used to shade areas or tones that can model intricate details and textures. This combination of line as outline and line as tone create rich visual possibilities with or without added colour washes.
Another area where line-work can reach great heights of expression is in architectural sketches, both loose and expressive ones for early concepts and more refined and finished drawings that have to represent structures and spatial relationships accurately.
Important for fields such as digital animation, tattoo design or pen and ink illustration; from highly technical to wildly expressive styles, the power of strong line-work to communicate in a wide variety of ways is worth investigating. Let’s start adding this skill to your toolbox.
1. Do the Tools Matter?
Whether it’s for traditional ink drawing or using some digital method it is important to practice with various tools and find the ones that suit you. In terms of traditional materials, if available to you, I suggest you try brush and/or calligraphy pens, mapping (dipping nib) pens, fineliners of various tip sizes and even a thin brush or hand-cut pen dipped in ink. You can use a variety of papers, but I find smoother is usually best for starting with ink and you want to use something strong enough that it doesn’t tear or buckle from the ink/pens you are using. I most often use normal photocopy paper for practice and warmups.
Digitally, some of the ink brush tools in Adobe Illustrator or Photoshop are great, I really enjoy inking with Krita (which is free to download) and have met a lot of artists who swear by Clip-studio Paint – there are many other great packages, I’m sure and there are now quite cost-effective options for digital drawing tablets.
Regardless of the specific tools what you need is to be able to get a strong, vivid mark without effort, to control the ‘weight’ or thickness of the line to and easily get a variety of lines and shapes with your tools.
2. Try Varying Line Weights
Use a mix of thick and thin lines to add depth and interest to your drawings. Thicker lines can emphasize important areas or bring them forward on the picture plane, while thinner lines can define smaller details or read as tone through hatching. Play with the variety of line you can get and experiment with how various combinations of line-weight can create interesting tones and textures.
3. Testing and Repeating the Line
Especially when working with a new tool on a big drawing, practicing your marks on the side will allow you to feel your way into the drawing and test effects and aspects of your line-work approach. Using software its usually easy to recover from some failed experiment or accidental mark or mistake but when I am drawing with ink on paper I will usually keep a ‘scratchpad’ or spare paper to the side of the main drawing so that I can try things, sometimes just to check if there is ink in a pen or nib or what kind of mark I can get off a brush but I will also sometimes try a test nose or finger or similar little study.
Constantly practicing over and over, repeating the same lines will improve your line control in time but it can be too much of a test of your patience to just do parallel hatching lines or model the same kind of shapes over and over with line. I would suggest, after some warmups, choosing subjects that offer opportunities to practice, small still life arrangements or reference images, maybe with some basic character art.
Draw simple subjects at first, aim for a half or quarter of an A4 sheet, feel free to ink over pencil planning (or a rough layer in drawing software). Try different inking approaches to the subject matter, from simplest to most complex. The first exercise below will give you some more specifics for this kind of practice.
4. Try using your Whole Arm
Moving your arm for broad, long strokes will usually produce better line clarity. This is the case for both traditional and digital art works. Pay attention to how your are set up for drawing to achieve this when you need to.
I think it’s usually best to have your elbow free and your paper/surface at a roughly 45-degree angle, but I know many artists who prefer to draw on a horizontal or vertical surface and to want to rest your hand at some points in the process is fair enough.
The first exercise encourages you to see what different results you achieve when using your wrist only versus using your entire arm to make clear lines. When doing it maybe try varying your sitting position and the angle of your drawing to see what works for you.
5. Slow Down(or Speed Up)
Rushing can lead to shaky or messy lines. Take your time to ensure each stroke is deliberate and clean. When working traditionally line work is difficult to redo, so take a breath and a moment to visualize what you want to do before laying down longer lines.
Conversely moving your hand too slowly can give you a wobbly line – test your hand by trying faster and slower movements for harder, straighter lines and more detailed or intricate line-work respectively.
Test what length and variety of line you can achieve comfortably with your hand and consider how you can break longer contours into lines that insert into each other so that you can get the complexity you are after without too much struggle.
Common Problems
1. Neglecting to Warm Up Your Hand
As line-based artwork requires some hand-control and co-ordination regular practice is really helpful. See if you can set aside a bit of time each day to practice line-work exercises and improve your line control (this can be as little as 10 minutes to a maximum of 45 minutes).
Especially if rusty or using new tools try to do a variety of marks testing exercises and little sketches and studies at first. This should warm up your hand and give you a sense of the results possible. Avoid going straight into some major and challenging art piece immediately — better to start by developing your line-art vocabulary while getting in some hand and eye practice.
2. Resist Overworking Lines
For this type of work try not to work over the same line repeatedly, as this can make your contours unclear and lose spontaneity. Aim for confident, single strokes for the parts of each shape wherever possible. Be aware of what marks your hand is able to achieve and practice linking your lines together in a way that aids the reading of the shapes and forms in your drawing.
Let’s Dive into Drawing
1. Hand vs Arm – Fluid Lines and Controlled Marks
Divide a page in two – The one half will be for lines made using only your wrist and fingers (label this side hand) resting your forearm/hand on the table or some support, for the other half you will use your full arm movement (label this side arm) with your forearm free. You may want to change your position from one side of the page to the other (from sitting to standing, for instance).
Fill each side of the page with a variety of marks such as:
closely spaced straight lines of various lengths
Spirals and S shaped curves
Cross hatching experiments
Pay attention to the difference in the way marks and lines come out depending on how you use your hand.
Then try some studies of simple subjects, half or quarter of an A4 sheet, feel free to ink over pencil planning (or a rough layer in your drawing software). Try each of these approaches to line-work in turn:
1. Outlines only
2. Outlines with limited tonal marks and some black areas
3. Parallel/mono-directional hatching studies
4. Various tonal cross-hatching approaches
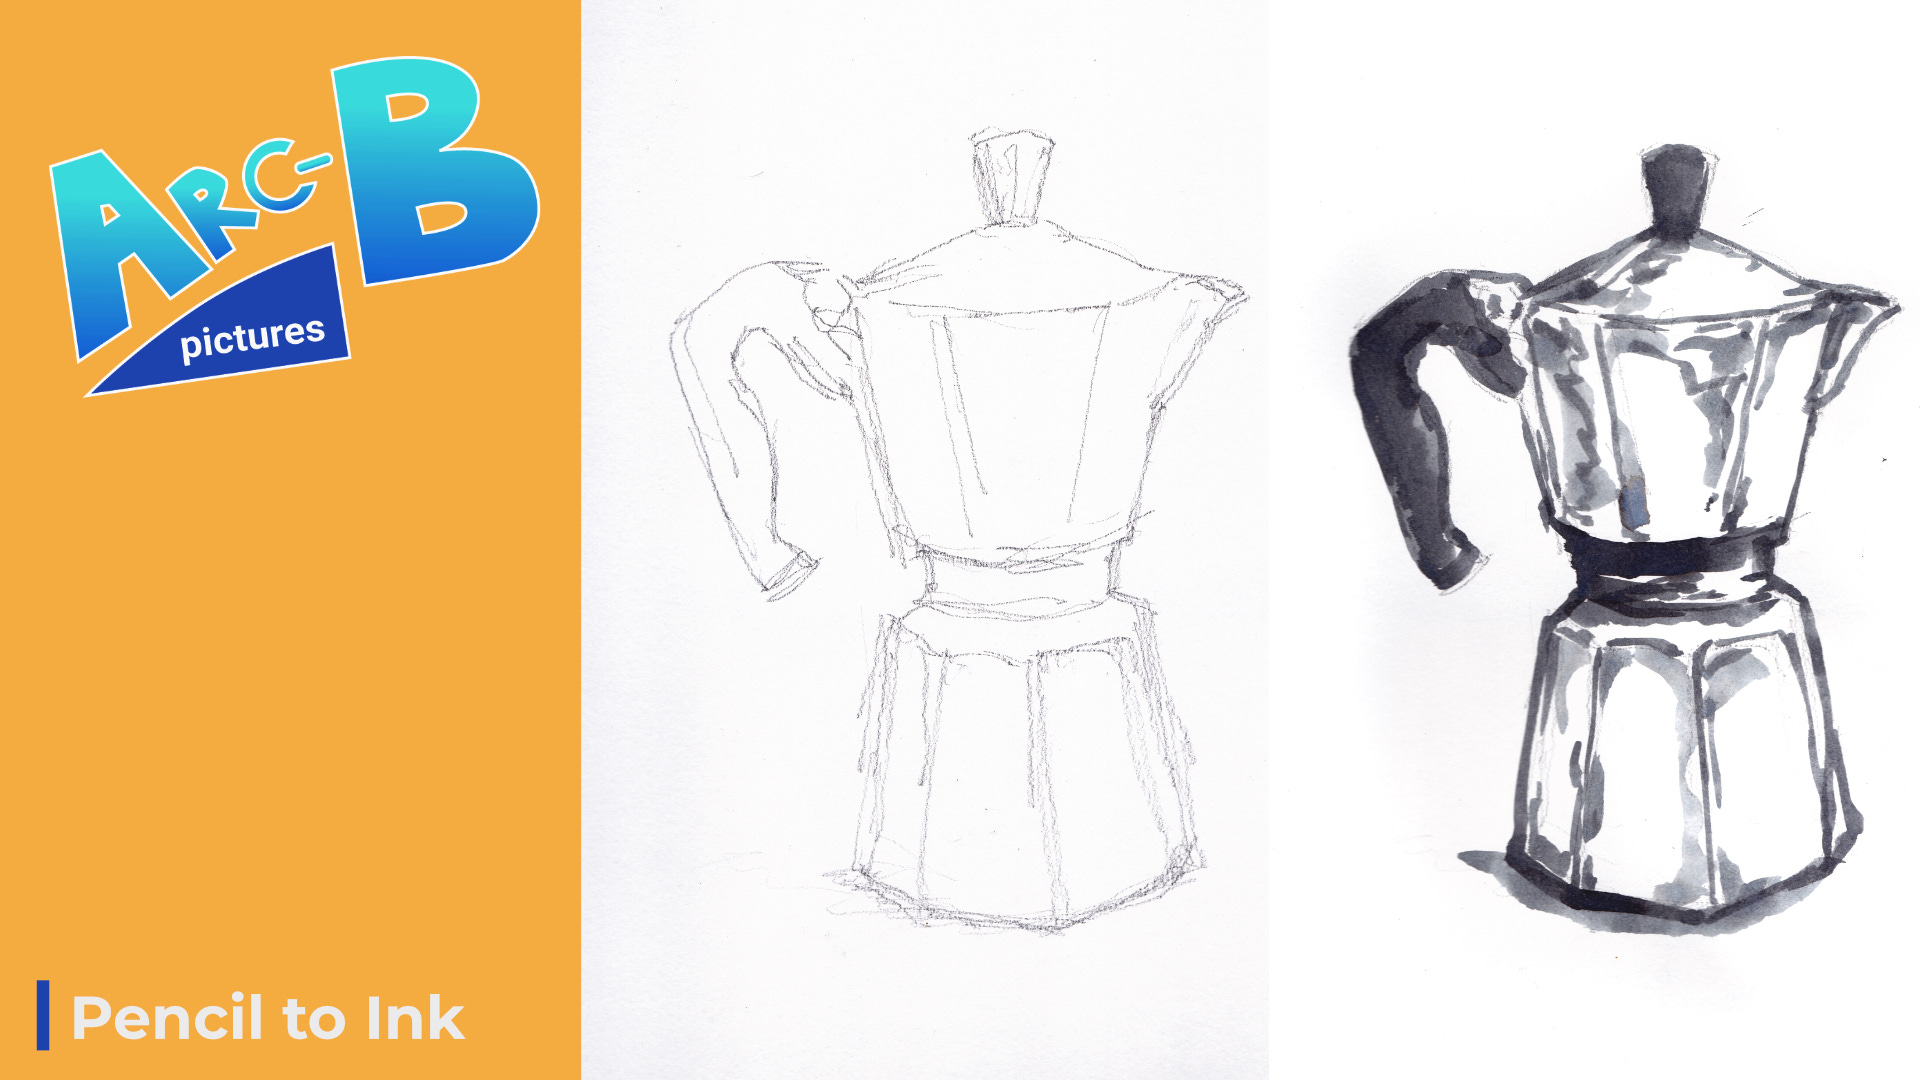
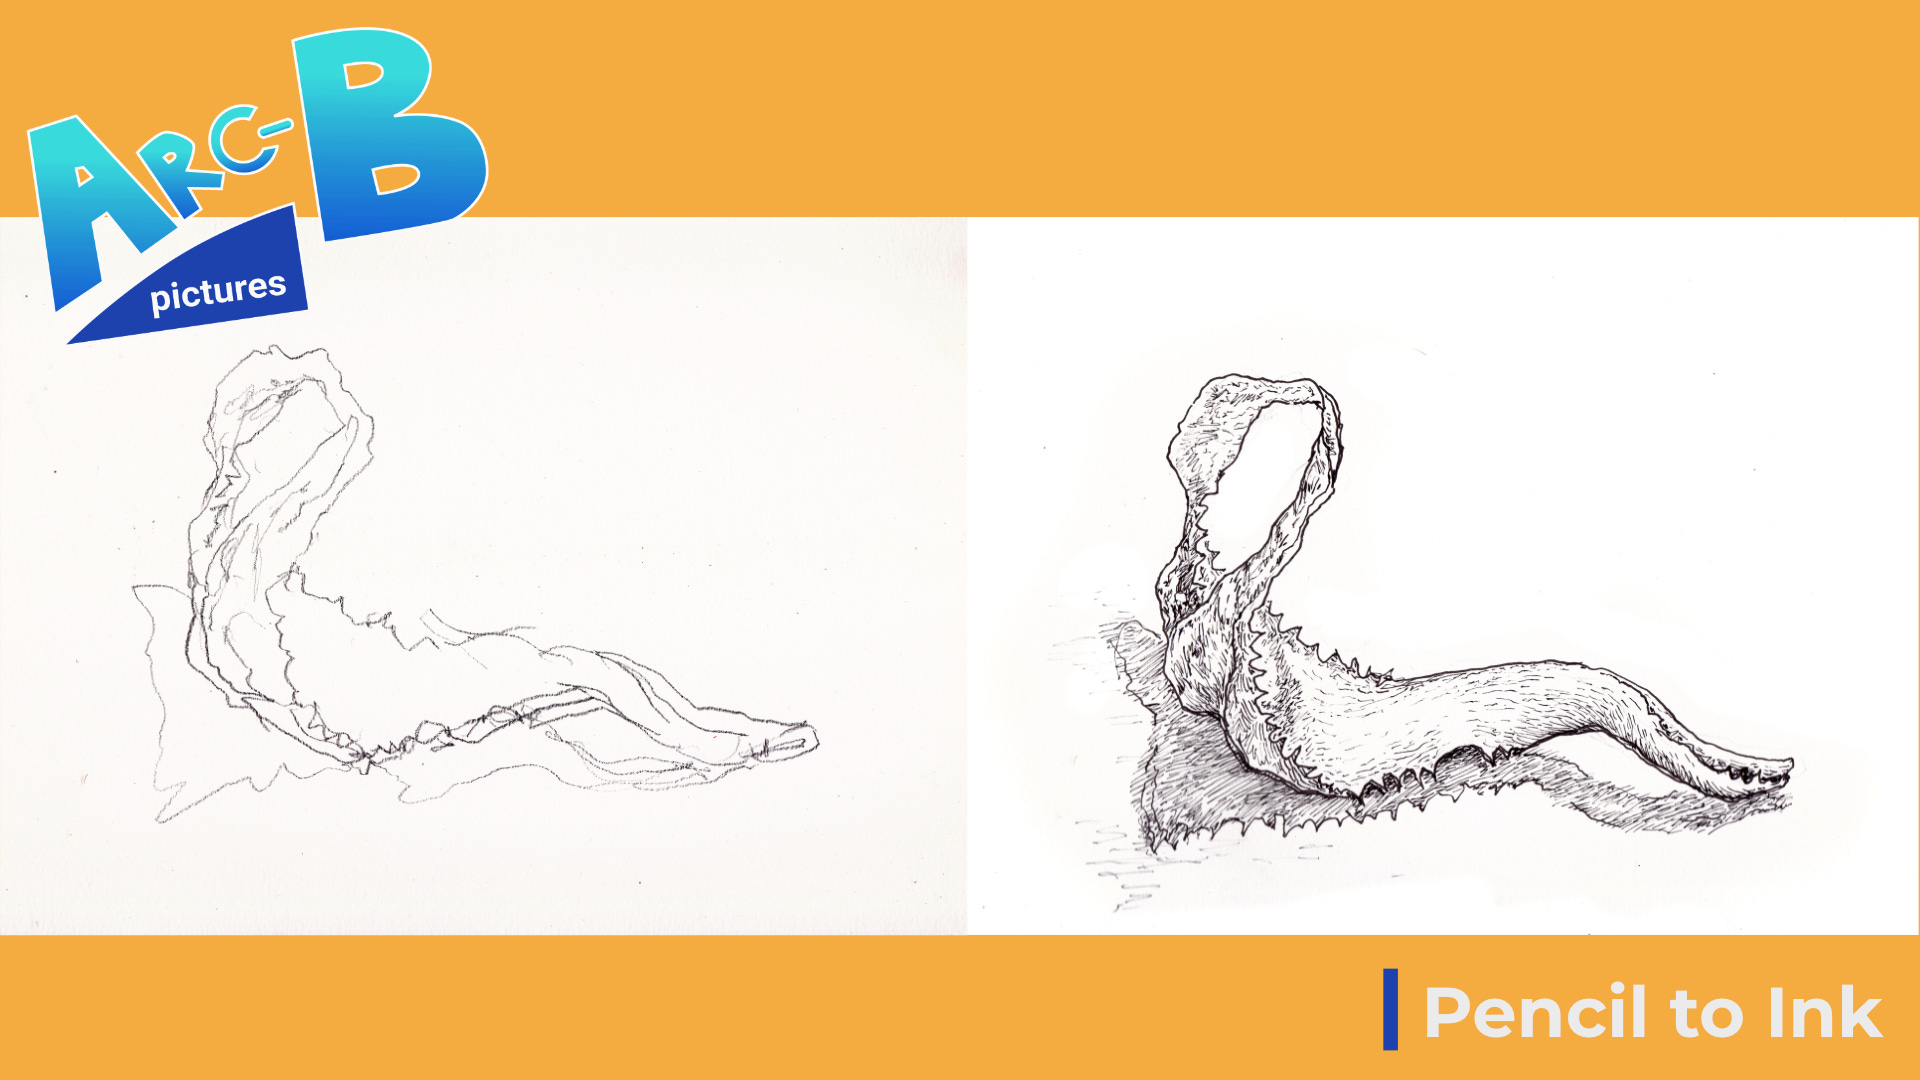
2. Let’s Go Traditional
Sketch out an interesting inanimate object in light pencil. Try to position and light it so that there are brighter and darker areas and a variety of shapes and surfaces so that it will not seem ‘flat’ when you draw it.
Use fineliners or whatever inking tools you have to draw in the lines. Try to vary your line weight and use the quality, direction and spacing of your marks to depict tone where appropriate. Depending on your tools the size of the paper can vary a lot, as can the complexity of your drawing. Aim for 40 minutes to an hour drawing total.
You can leave the rough pencil in underneath your inks when you photograph or scan your work. Let’s see your line-work on Instagram by tagging us on your artwork @arcb.pictures
Visually Speaking
Here is my own inanimate object drawing in pencil first and then inked in with fineliners Can’t wait to see yours!
Happy Drawing! Remember, practice makes perfect. Share your progress with us using @arcb.pictures and stay tuned for news on courses, draw-along sessions, and awesome drawing content!
If you are ready to learn more, sign up for our full 8-week mentorship with Archie Birch. Level up your drawing now. Seats are limited and the mentorship works on a first come first serve basis.
Thanks for reading Arc-B Pictures! Subscribe for free to receive new posts and support my work.